
A Beginner’s Guide to Moss Art: How To Get Started With This Natural Art Form
Have you ever walked into a large office building or store to be greeted with a beautiful wall of moss and plants? If you have, you know just how striking a natural piece of art can be!
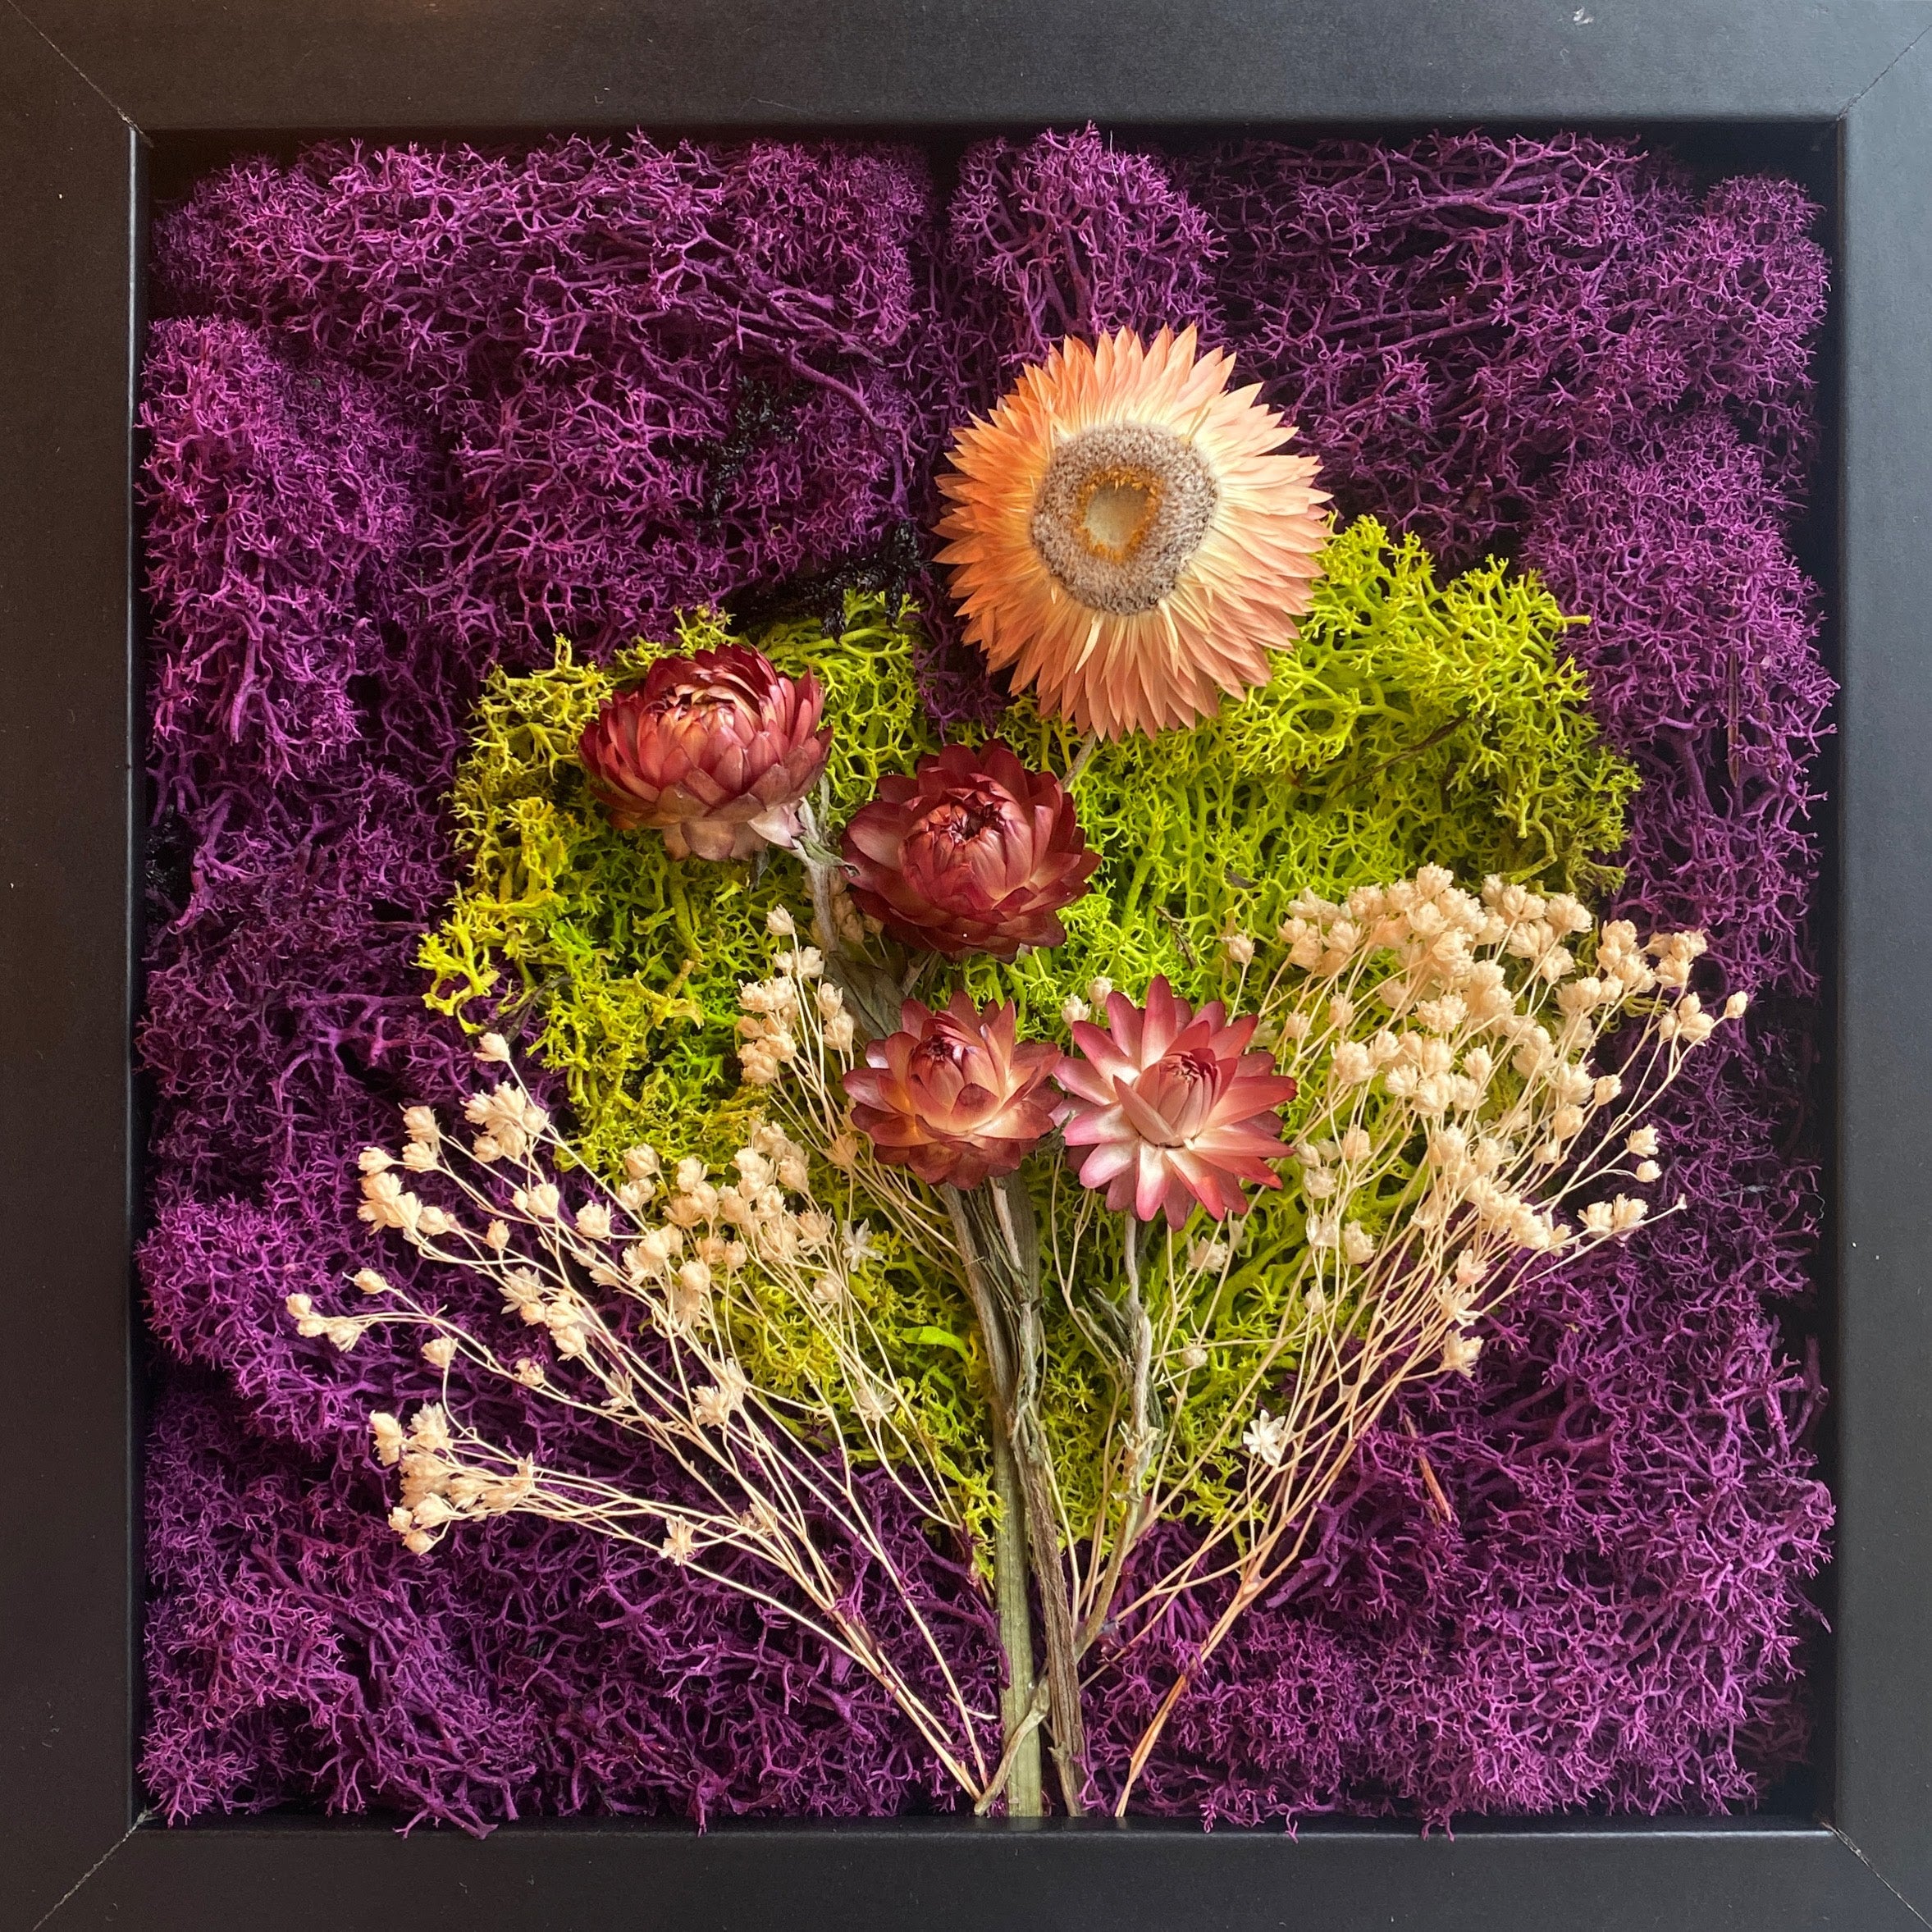
Moss art, also known as moss painting, is a unique and eco-friendly artform that involves using preserved moss to create designs, images, or words. Oftentimes, moss art takes the form of a large 2D installation on a wall, but you can make moss art in smaller sizes too, which is a great way to get a feel for the art form. Furthermore, moss art can be created on a 3D structure to create sculptures!
Today, we’ll walk you through the process of creating your very first piece of moss art! For beginners, we suggest starting small on a 2D surface to create your art.

Getting Started
We love to start our moss art projects by gathering the materials we will need first. That way, when you’re ready to sit down and start creating, you’ll have everything you need right at your fingertips.
Materials
- A wooden frame, canvas, or other 2D surface
- Preserved moss (readily available from craft stores or online)
- Super glue
- Additional decorative elements of your choice, for example: small branches, flowers, stones
Optional:
- Craft paper or cardboard (for creating templates)
- Scissors
- Ruler or measuring tape
- Pencil

Instructions
1. Prepare Your Workspace
First things first, we need a clean workspace! A clean desk or dining table will do. We recommend covering your work surface with newspapers or a drop cloth to catch any glue drips that might fall on your furniture.
Next, you’ll want to gather your materials at your workspace. We like separating our moss out into different colors so we can see the full range of what we are working with.
2. Plan Your Design
Start thinking about the design, pattern, or image you want to create with your moss. You can keep it simple with geometric shapes or letters, or get more wild with intricate nature-inspired designs. Or maybe you like to keep things more organic and work without a specific design in mind! And if you are using a frame, keep in mind that you can opt to keep the glass or remove it.
To help get your creativity flowing, try moving the moss around on your canvas into different patterns, or try drawing out your idea onto a piece of paper. It might also help to look at other pieces of moss art for inspiration.
If you’d like to create a specific design but you're not confident in freehand drawing, you can create templates for your design using craft paper or cardboard. You can also search for inspiration on the web and print out or trace images that inspire you. Let your imagination run wild!

3. Arrange and Glue the Moss
Once you have your design planned, it's time to begin arranging your moss. Using small pieces of moss, start placing them on your canvas to fill in your design. If you want to get more precise, you can use scissors to trim your moss into the shapes you desire.
When you’re happy with your arrangement of moss, you can start gluing everything down. Using your super glue, start gluing each piece down one by one. Working section by section, glue your entire design down until every bit of moss is secure. Even if you’re planning to use additional decorative elements like twigs or flowers in your design, we recommend gluing down your moss first for a strong foundation for your design.
Make sure to be on the lookout for gaps in your moss where bits of your canvas peek through so you can fill them in! This will help your moss art look neater and more complete.

4. Add Decorative Elements
If you want to enhance your moss art with additional natural elements like small branches, pinecones, or stones, now’s the time to do that! Start placing and gluing down your decorative elements. Some items can be harder to glue down than others, but with patience and perseverance you can get them perfectly arranged!
Make sure all your decorative elements are securely attached! But no worries, you can always come back later to see if any of your pieces are loose and need more glue.

5. The Final Touches
Now that you’re finished gluing down your work, it’s time to allow the glue to dry completely. This may take a few hours depending on the type of glue you used so it’s good to let it sit for a while. Better safe than sorry!
Once all the glue is dry, gently brush off any excess moss or debris to tidy up your artwork. You can use your fingers or a small paintbrush.
If you're using a canvas, you can choose to frame it or leave it as is. If you decide to frame your art, be careful not to disturb your work when you frame it! Be as gentle as you can to avoid any pieces coming loose.
6. Display Your Art!
Congratulations on your first finished piece of moss art! Time to hang or place your moss art in the perfect place!
As a good rule of thumb, you’ll want to make sure your moss art is kept indoors in a humid environment to preserve the moss. So, if you are looking for a perfect art piece for your bathroom, your moss art might be just the thing!
It’s also important to keep pets in mind when hanging your moss art – your cat might take a little too much interest in your moss art!

–
We hope you’re proud of your first piece of moss art! And, most importantly, we hope you had fun making it.
If you’re interested in a pre-packaged moss art kit, we have started selling those! You can choose your frame color and moss color, as well as additional natural elements. You can learn more about our moss art kits here.
If you’re looking for a more guided experience for your first moss art creation, we offer beginner workshops at our Studio. You can also walk in and create moss art (or other arts & crafts) in our store anytime! We hope to see you around.
Until next time, keep crafting!